Making Fruit Leather

Making fruit leather from apricots or peaches has been a long-time summer tradition for me. It started with the apricot tree in the backyard of my sister, Christi Nash. She is always generous to invite me and my kids to pick as many apricots as we want.
This time, I brought my six-year-old granddaughter, Jayden, with me to pick apricots. She looked at the tree and asked, “Where’s the popcorn?”
Blame it on the well-known children’s song in the Church of Jesus Christ of Latter-day Saints’ Primary songbook: “I looked out the window and what did I see? Popcorn popping on the apricot tree!”
Utah composer Georgia W. Bello was singing about the poofy white apricot blossoms that herald spring when she wrote the lyrics and music back in the 1950s. But, it’s easy for kids to get confused if they’re not around apricot trees much. She left out the part about what happens in summer, when the trees get so loaded down with apricots that the branches break. And if the ripe ‘cots aren’t picked on time, they fall of the tree, splattering all over the lawn and making a sticky mess.
 Apricots are like the zucchini of the fruit world. When they are so prolific, people tend to take them for granted. But I love their sweet mellow flavor. They are also so easy to process. Their skin is not as fuzzy as a peach, so it doesn’t need peeling. You just open up the fruit and the pit falls right out. So much easier to deal with than pears or peaches.
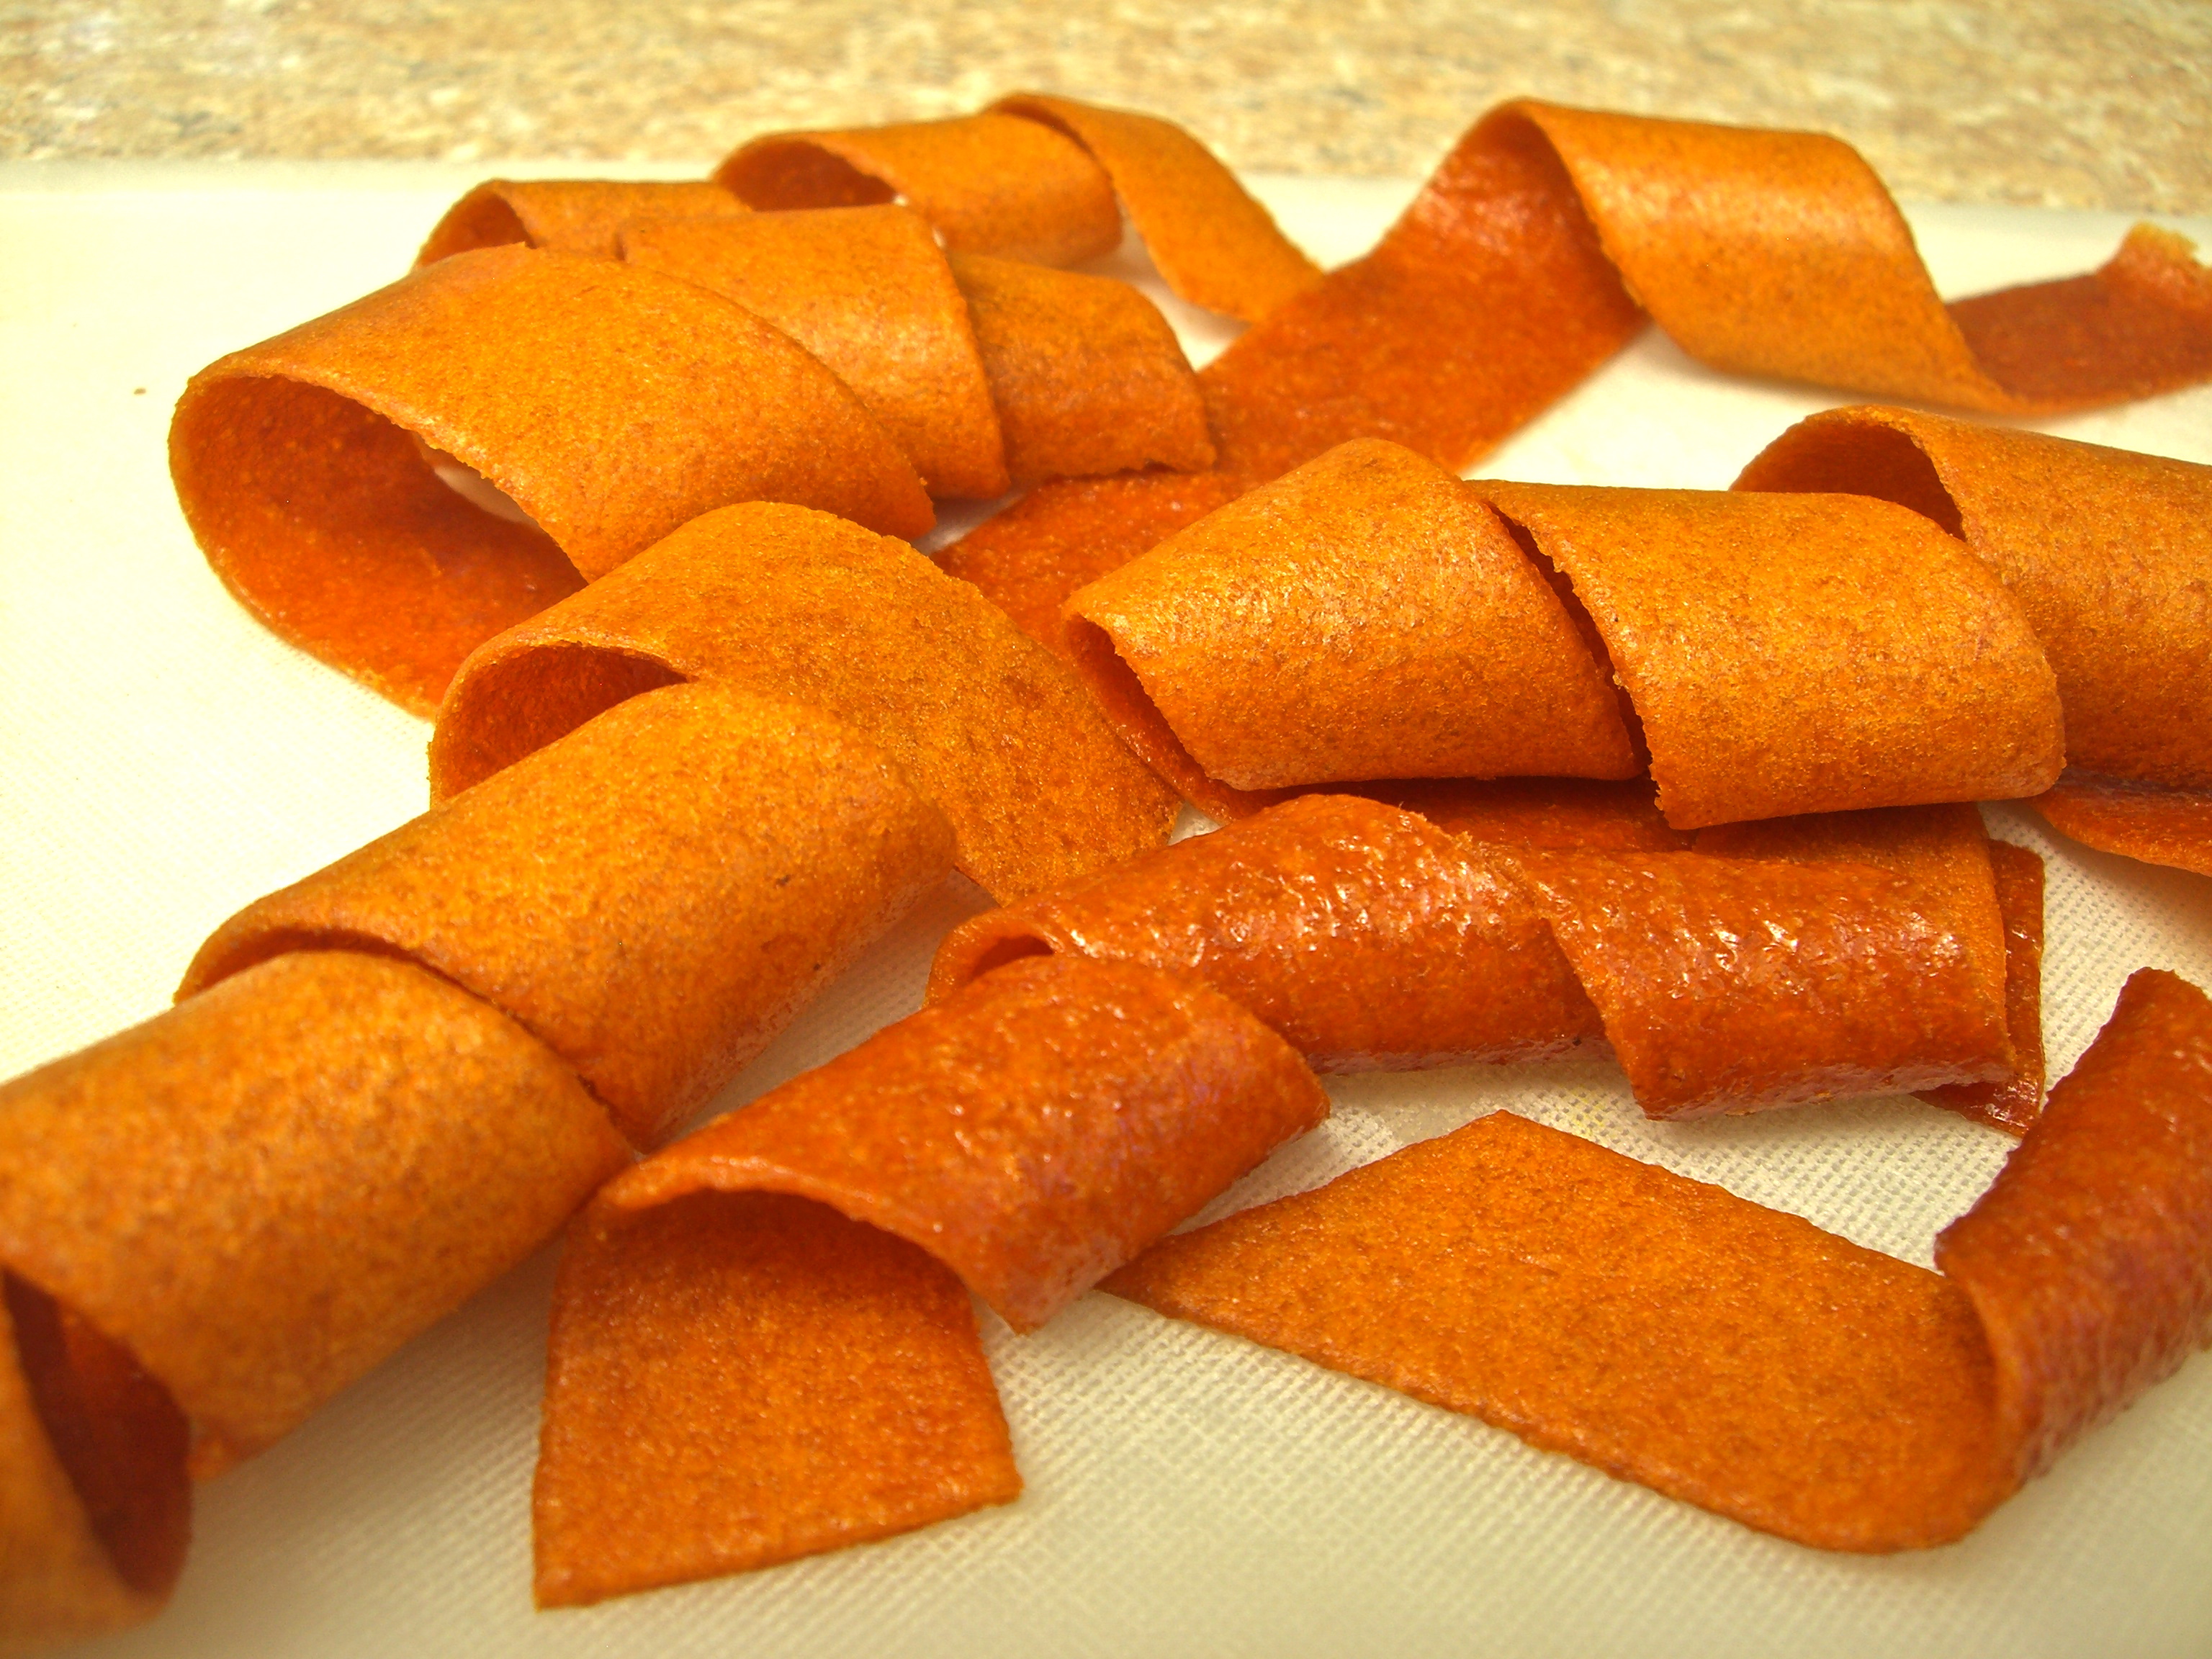
I made a few pints of freezer jam, but most of my apricots are made into fruit leather, or fruit roll-ups as my kids call them. The great thing about fruit leather is you can do it outside on hot dry days when the temperature is in the 90s. You don’t have to simmer jam on the hot stove, or deal with boiling water bath canning that steams up your already-hot kitchen. Unlike canned fruit, leather takes up very little storage space.
Now my motto now is, “Dry it, you’ll like it.”
Fruit leather is the same idea as commercially made fruit roll-ups, only the natural product has more real fruit instead of corn syrup, and it doesn’t have the fake-bright color. I added a bunch of red food coloring and raspberry flavoring to one batch that I did, because granddaughter Jayden didn’t think the natural orange-tan color looked very appetizing. You can flavor and color it however you want.
To make fruit leather, or to dry any type of food, you need:
— Controlled heat to force out the moisture in the food, but not hot enough to cook the food (most recipes recommend 125 to 160 degrees).
— Dry air to absorb the released moisture.
— Air circulation to carry the moisture away.
Drying doesn’t kill the microoganisms already present in food. But with 80 percent to 95 percent of the moisture removed, they can’t grow and cause spoilage. Recent guidelines from the USDA’s Extension Services recommend heating the fruit to at least 160 degrees at the beginning of the drying process, in order to kill bacteria such as E.coli.
The guidelines also suggest adding lemon juice or ascorbic acid to retain the color and aid in preservation. Pineapple juice also contains ascorbic acid, and I prefer its flavor to the bitterness of lemon juice. Sugar helps as a preservative by binding water molecules and making them unavailable to bacteria, which need water to live and grow. But you don’t need a lot of it, because as the leather dries, the flavor and sweetness becomes more concentrated.
Fruit leather will likely take a full day to dry if placed outdoors when temps are in the 100s, and 4-10 hours if you are doing it in the oven or a dehydrator. But don’t get impatient and turn up the heat; the odor of burning apricots is awful.
If you have a dehydrator, follow the instruction manual. If you don’t, here’s what works for me. These same directions can be used for making peach leather as well.
APRICOT/PINEAPPLE LEATHER
5 to 6 cups of pitted apricots (do not peel)
1/2 cup pineapple juice (or 1 tablespoon of lemon juice plus 1/2 cup water; I prefer the pineapple flavor to the lemon’s bitterness)
1/2 cup sugar
Preparing: Wash and pit the apricots. Place them a heavy-duty blender with the pineapple juice and sugar. You may want to mash the apricots lightly with a spatula to aid the blender process. Puree until smooth.
 Pouring: Prepare one or two baking pans by spraying with nonstick cooking spray or lining with a silicone mat (Silpat) or heavy-duty plastic wrap. Some people don’t like taste of the spray; but if you use plastic wrap, it should be microwave-safe to withstand 170 degree oven temperatures. (I’ve not had good luck using waxed paper; the paper got soggy and it was hard to peel off the finished leather.). Pour the puree about 1/4- to 1/3-inch thick into the pans. It will get thinner as it dries. Use a spatula to make sure it is spread evenly.
Drying: Set your oven on the lowest setting (mine is 170 degrees; some ovens will simply say “warm.”) Heat the fruit mixture in the oven for at least hour to kill off microorganisms and start the drying process.
Outside (if temps are close to 100 degrees). Find a hot, sunny spot on your porch or patio where the pans won’t be disturbed by kids or pets. To attract more heat, cover the surface with a piece of black plastic and put the pans on top. Cover the pans with a mesh screen or nylon net to keep bugs out.

Check it in 6 or 7 hours, and keep an eye out for rain and high winds.
Oven-Drying: If you’d rather dry your leather indoors, keep the oven temperature at its lowest setting. Prop the door open about an inch to allow the moisture to escape. It takes about six to eight hours to become leather.
Finish: Your finished product should be pliable, but not sticky. You should be able to peel it off the pan without any goo left behind. This can take 8-10 hours, depending on how hot and dry the weather is, and how much moisture is in your puree. Yield: 1 to 2 cookie sheets of leather, depending on the thickness.
Store: Tear or slice the leather into strips. You may want to roll them up between a strip of parchment paper to prevent sticking. Store in the refrigerator or freezer.